

I found this nice Disston carcase saw in a secondhand shop a few years ago, and it’s been living untouched in my tool chest since. Yes, I paid $5 for it – there are still bargains to be had if you look hard enough! The tote was solid but covered in dark grime, and the plate and teeth were straight but needed cleaning and sharpening. One evening last week, I finally pulled it out and gave it some TLC.

My first step was dealing with the dark coating on the tote. My best guess is that it is some kind of highly oxidized (and very hard) oil coating – linseed, perhaps? I tried multiple solvents – alcohol, xylene, and even wiped-on carburetor cleaner (not recommended…) to see if it could be removed chemically. Nothing touched it. I went with a mechanical method – a razor blade. That got the bulk of it, then alcohol did the rest of the cleaning. I wasn’t looking for new wood, just a clean patinated surface without rough gunk adhered to it.

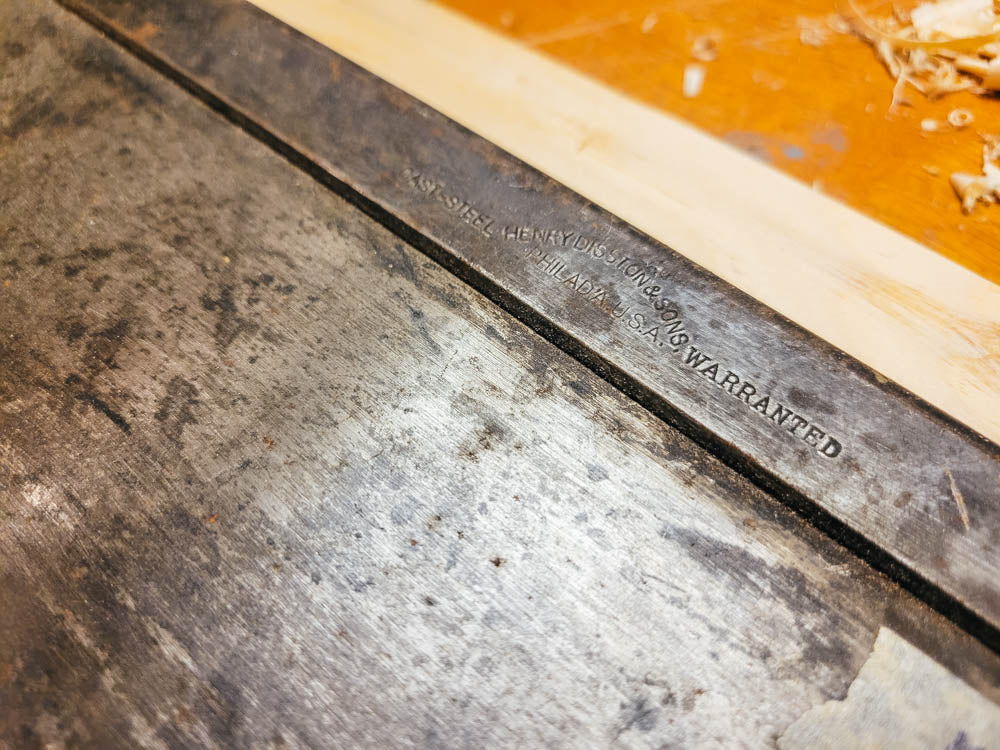
The sawplate wasn’t in bad shape – it just needed a wipe-down with some penetrating oil and minor scuffing with sandpaper in one area where some rust and pitting were present.

 Next, sharpening. I pulled out my saw vise and clamped it to the end of my bench. This saw presented a best-case scenario for restoration in that the teeth were all in good shape, the tooth line was straight, and the plate was undamaged. Some saws have been sharpened badly multiple times and have irregular teeth or wandering tooth lines – these issues often necessitate starting over and cutting new teeth. But here, I only had to sharpen. Being a carcase saw (crosscut teeth), I did all the right-hand teeth first, then the left. I like to keep the saw in the same orientation for both sides – it lets me keep track of progress more easily. Three strokes per tooth, and that’s it. I eased the rake as I moved to the toe of the saw (so cuts are easier to start) by simply rotating my saw file a few degrees towards the tote. Sharpening this saw took about 10 minutes. A few test cuts determined that the set of the teeth was just fine – the saw cuts beautifully.

 I wiped some pigmented shellac on the tote – several applications – then waxed the whole thing: tote, plate, back, and all. The wax will offer rust protection for the steel and will help the saw ease through lumber more smoothly. The entire process only took about 45 minutes – as I said, truly a best-case scenario for restoration. This old saw is ready to go back to work.
-Mike