
Yesterday, when we arrived back at the studio, the first order of business was to get our leg stock into shape. I hewed my riven ash pieces into rounds with my single bevel hatchet. For this rounding work, I really love the single bevel and heavy head of my Collins hatchet as I can use the flat back (unbeveled side) to establish a flat plane on the stock. After a series of relief chops up the piece, I can swipe it all away to a single plane with one swipe.

To gauge my initial shaping, I bored a hole with the auger in scrap pine and traced it onto the end. That way I worked to the line with hatchet. For the last of the hatchet work, I pushed the head down the work, riding the flat back, using it almost like I was planing.
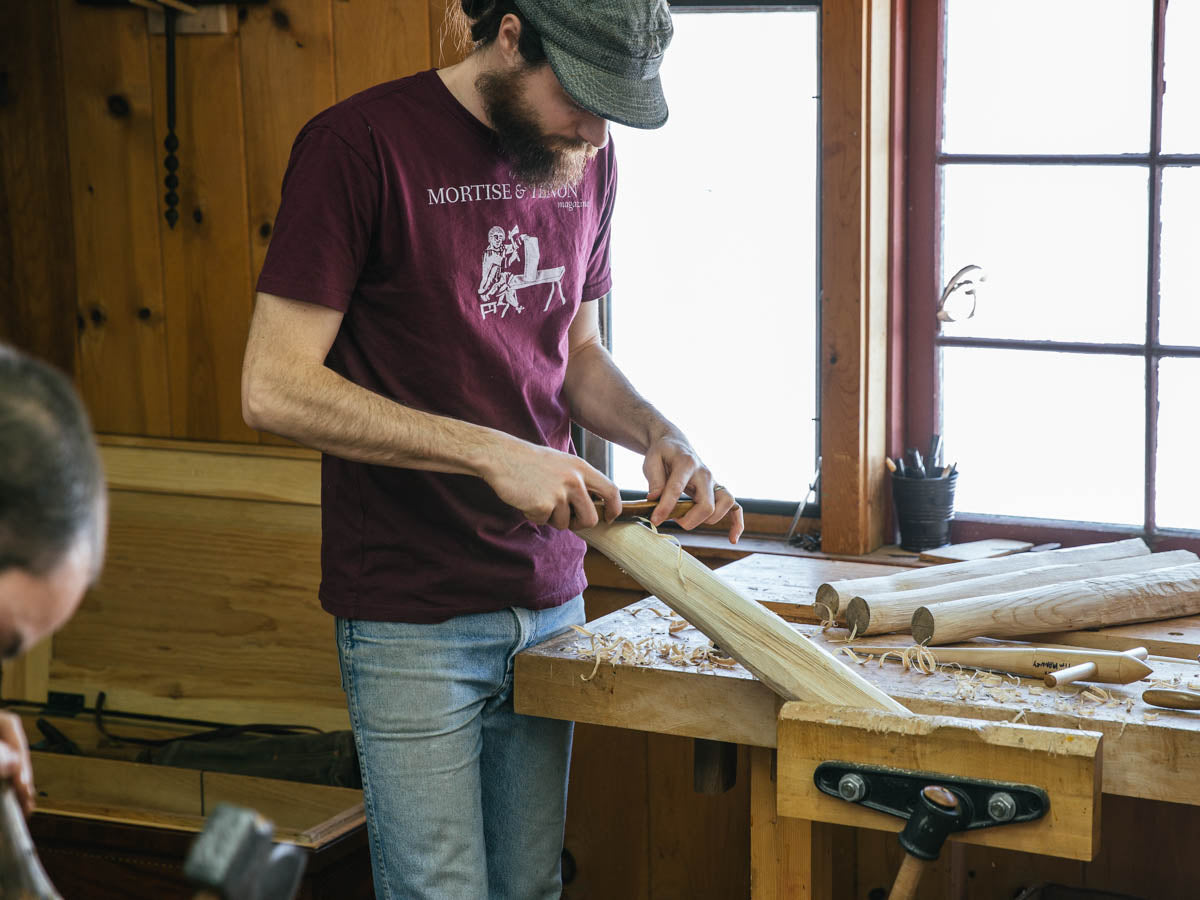
All the refinement of the tenons took place in the vise with a wide-mouthed spokeshave. I did most of the test fitting on a bench top offcut. By doing it this way, I could pound the tenon in without chewing up the mortises of the actual bench. Final fit was obviously done on the bench itself.


Mike spent a bit more time on his joinery than mine because he tapered his mortises the whole way through. This made fitting the tenons a bit more picky. He’s got something up his sleeve, I guess, because he left some crooks at the bottom of two of the legs. He says he’s cooking up some workholding situation. We’ll see what he comes up with. If Woodworking in Estonia is the precedent, it seems anything is fair game!

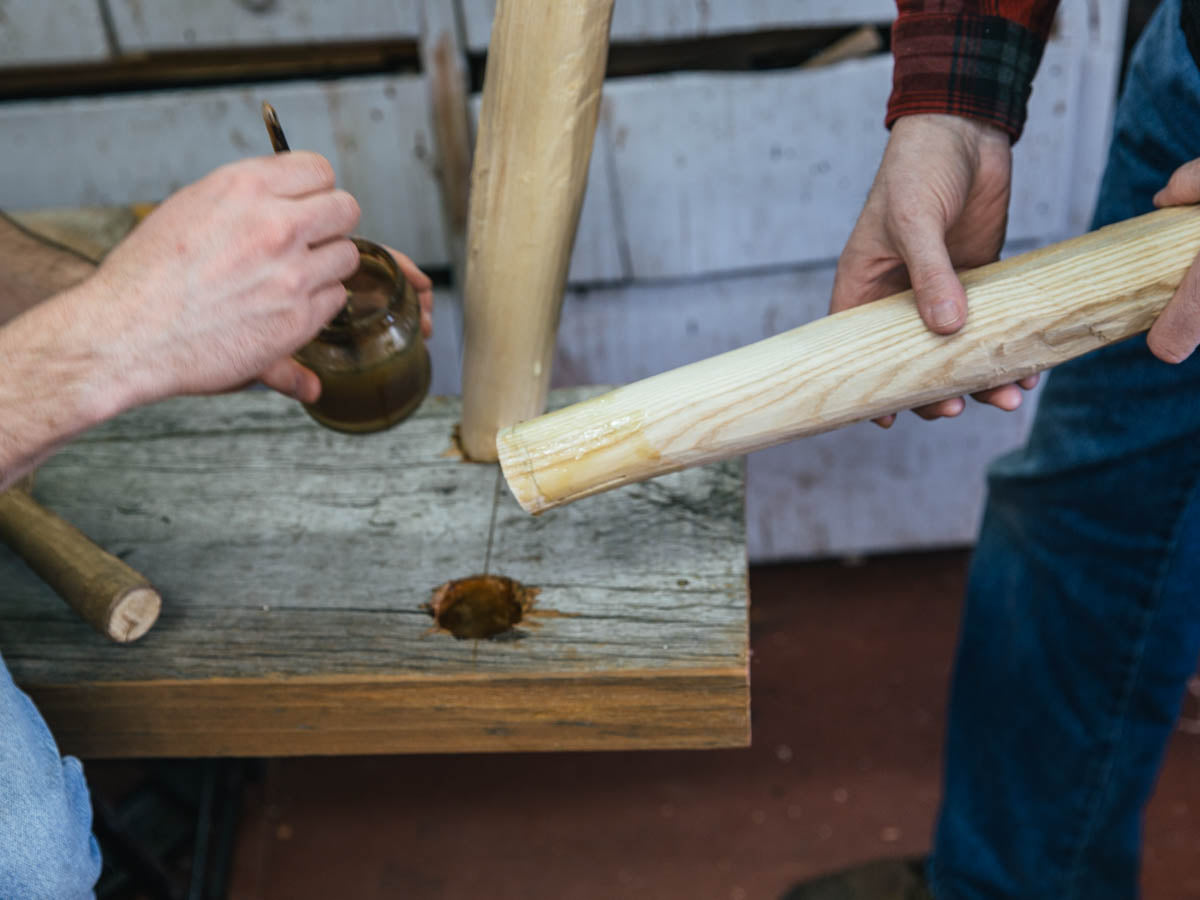
After shaping the wedges and sawing a kerf on the tenons, we pulled out the hide glue. We decided to use our “liquid” hide glue to buy ourselves more open time. This glue is made with the salt-depressed recipe that I’ve published previously.

It was interesting to find that although I friction fit those tenons by beating them in hard with a maul, when the glue was applied, they slipped though even further. Doh. Of course that would be the case. It should have occurred to me that hide glue would be a great lubricant. It didn’t prove to cause a problem but next time I know that I can fit it a bit shy of coming out the top and trust the glue to slip it the rest of the way through.


After both benches were legged-up, we shimmed each leg until the top was a consistent measurement from the floor. After marking the trim line with a pencil resting on a block, we sawed the legs to final length. Mine ended up at 19.25”.


Yesterday was fun. Our friend, Richard, came by for the day and shared his insights from building this form over the years at Leonard’s Mills Living History Days. He brought his Toshio Odate toolbox full of tools and let us try out a bunch of his favorite stuff.

Today, we’ll be cutting the tenons and wedges flush and fitting the benches out for workholding. Then we’ll play around with using them. I plan to make a small project on mine this afternoon because I’m curious to explore the viability of using this bench to complete a project. I want to know if I would like this for more than a glorified sawbench. I suspect it will be very different than working on my tall bench but I just don’t know how yet.
You’ll be sure to hear about it when I do.
If you're interested to learn more about this bench, check out the article by Chris Schwarz in Issue Two.